Our Process
Our standard installation workflow, the same process we teach and support.
Video: 15-Step Installation Process (Spanish)
A quick walkthrough of our standard install sequence — from concrete prep and base coat through flake broadcast and polyaspartic topcoat.
Note: This video is in Spanish. The full 15-step process is listed in English below.
Step-by-Step Overview
Our 15-Step Installation Process.
A standardized, repeatable system—from concrete preparation through final cure. Exact materials, ratios, and working times vary by product and site conditions. Always follow product TDS/SDS and training guidance.
- Surface Inspection & Repair Inspect the concrete for cracks, spalling, contamination, moisture issues, or previous coatings. Complete all necessary repairs before coating begins.
- Initial Mixing (Primer / Base Coat – per system spec) Mix and apply the primer or base coat according to product specifications and working time requirements.
- Protect Adjacent Surfaces Mask walls, doors, transitions, and any surfaces not receiving coating to prevent contamination or staining.
- Equipment & Site Setup Stage all tools and materials onsite. Confirm adequate lighting, ventilation, and workspace access before mechanical prep.
- Electrical Verification (as needed) Confirm power availability and continuity to support grinders, vacuums, and application equipment without interruption.
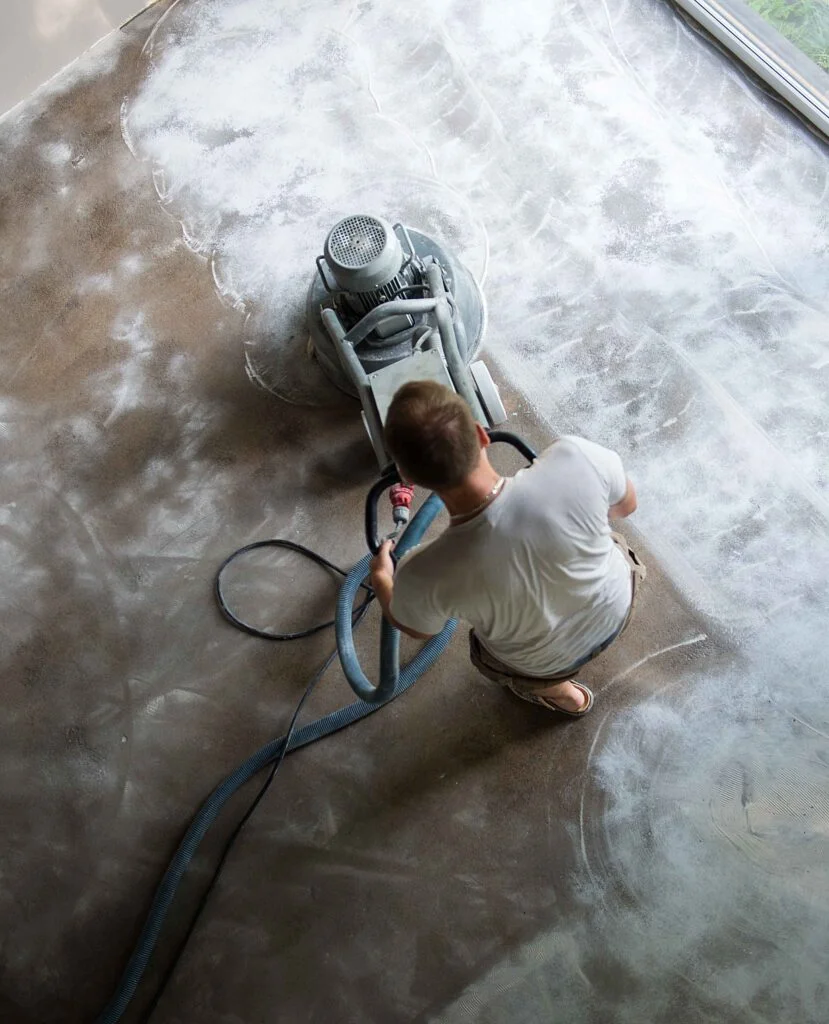
- Mechanical Surface Preparation Grind or abrade the slab to open concrete pores and achieve a consistent surface profile for proper adhesion.
- Dust Removal Vacuum the entire surface thoroughly. The slab must be completely clean and dust-free prior to coating.
- Product & Tool Preparation (Build Coat – per spec) Prepare squeegees, rollers, and materials before mixing. Mix build coat components per product specifications until uniform.
- Perimeter Cutting & Detail Work Cut in edges and detail areas first to ensure clean transitions and full perimeter coverage.
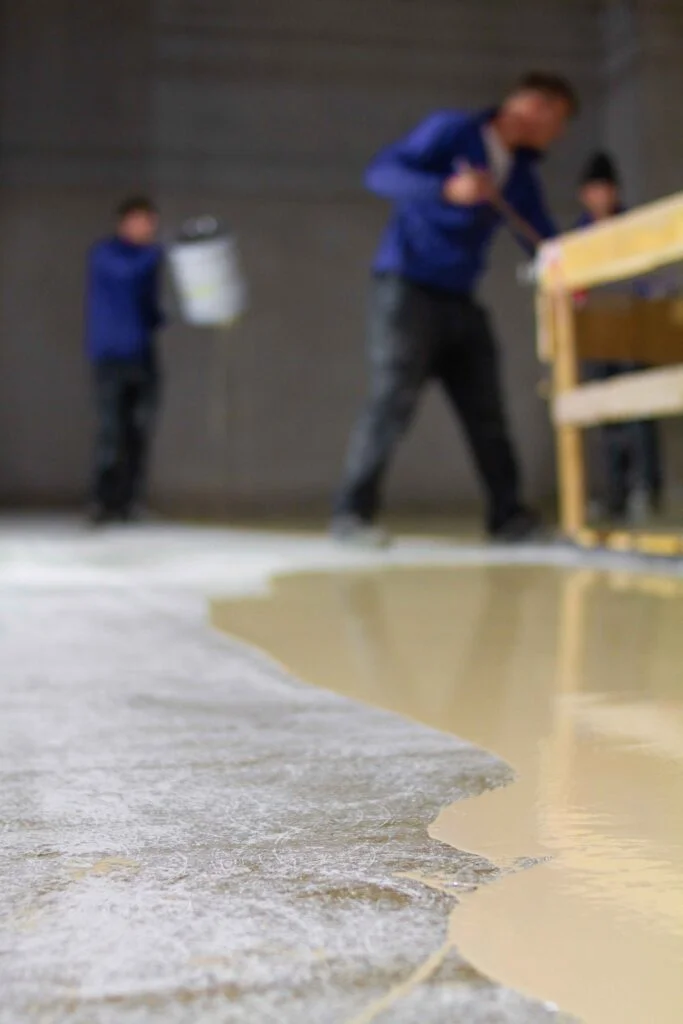
- Build Coat Application Pour manageable sections and spread evenly using a squeegee, maintaining consistent coverage and avoiding puddling.
- Back-Rolling Immediately back-roll behind the squeegee (typically cross-hatch) to level the coating and unify texture.
- Decorative Flake Broadcast (if used) Evenly broadcast flakes across the surface at the specified rate for the selected finish.
- Cure, Flake Removal & Surface Refinement Allow the coating to cure until ready. Remove loose flakes by sweeping or vacuuming, then scrape or sand as required to refine the surface.
- Topcoat Mixing & Application (per spec) Mix and apply the topcoat according to product specifications. Spread and back-roll to seal the system and achieve a uniform finish.
- Final Cure & Cleanup Remove all masking, clean the work area, and perform a final inspection. Return-to-service timing varies by system and conditions.
Need help with products or training for this process?
FAQ
1. How long does a typical installation take?
Most installations are completed within one day, depending on surface condition, system selection, and site access. Cure and return-to-service timing varies based on the materials used and environmental conditions. For details on the coatings used at each phase, see our Products page.
2. What factors affect cure time?
Cure time is influenced by product chemistry, temperature, humidity, airflow, and film thickness. Always follow the specific product TDS/SDS and system guidance. If you need help selecting a system appropriate for your conditions, feel free to Contact Us.
3. Is mechanical surface preparation always required?
Yes. Mechanical surface preparation is essential for adhesion and long-term performance. Grinding or abrasion opens the concrete pores and creates the surface profile required for coating systems to bond correctly. This step is a core part of the installation workflow taught in our Training programs.
4. Can this process be used over existing coatings?
In some cases, yes. Existing coatings must be properly evaluated, cleaned, and mechanically prepared to ensure compatibility and adhesion. Not all surfaces or prior coatings are suitable without removal or additional prep. If you’re unsure, contact us to discuss your specific situation.
5. What happens if moisture is present in the concrete?
Moisture conditions must be assessed before installation. Elevated moisture levels may require additional mitigation steps or system adjustments to ensure proper performance. System selection and preparation methods are covered in more detail during Training.
6. Do all projects include decorative flakes?
No. Decorative flakes are optional and depend on the desired appearance, performance requirements, and application type. Solid-color, quartz, and other system configurations are also available. You can explore finish options on our Products page.
7. Where can I learn more about the products used in each step?
Detailed information on base coats, repair materials, and topcoats is available on our Products page. If you need guidance choosing the right system for a project, contact us for support.
8. Do you offer training on this installation process?
Yes. This page reflects the same workflow taught and supported through our training programs. Visit our Training page to learn more about hands-on instruction and ongoing support.